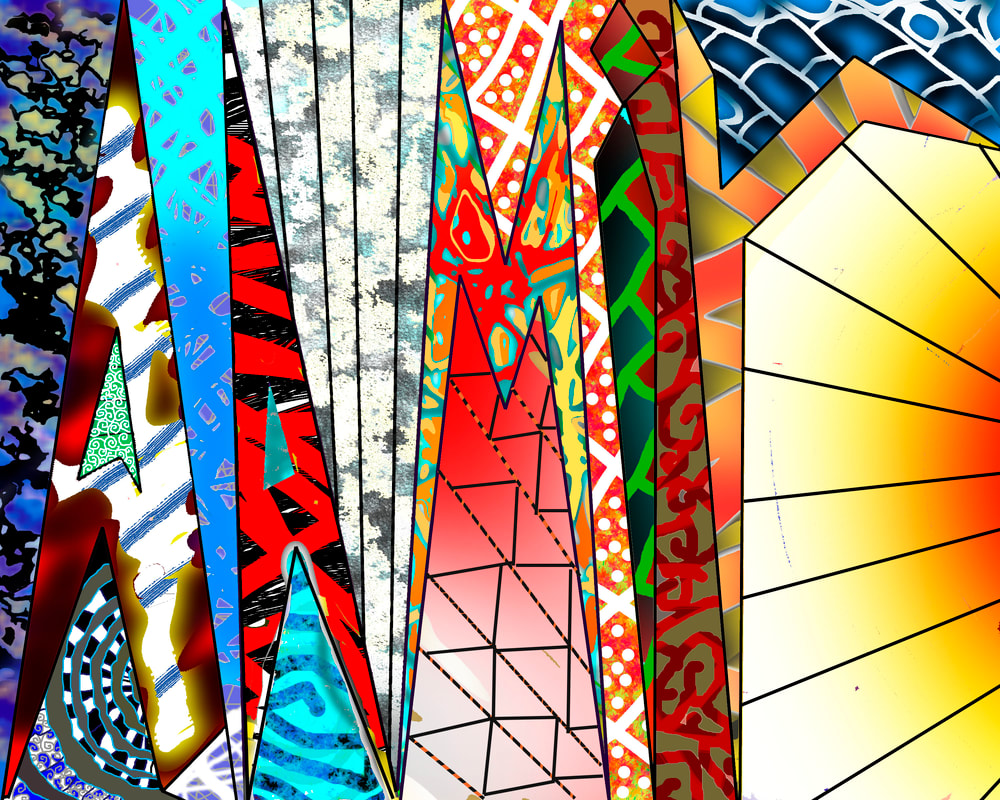
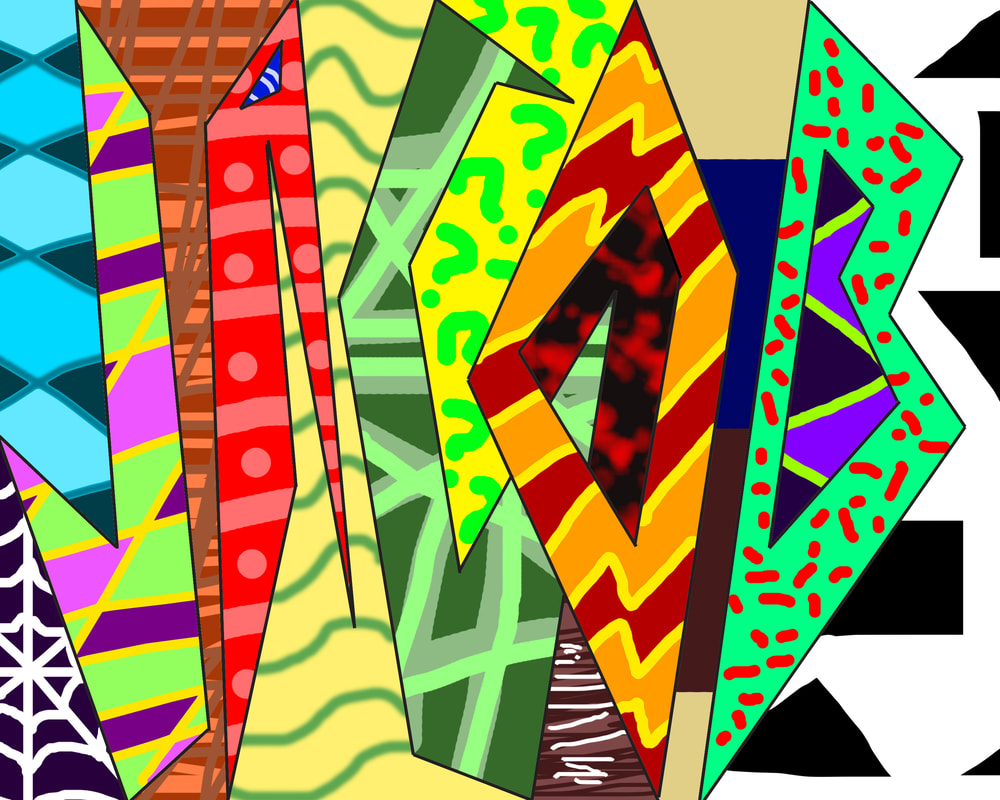
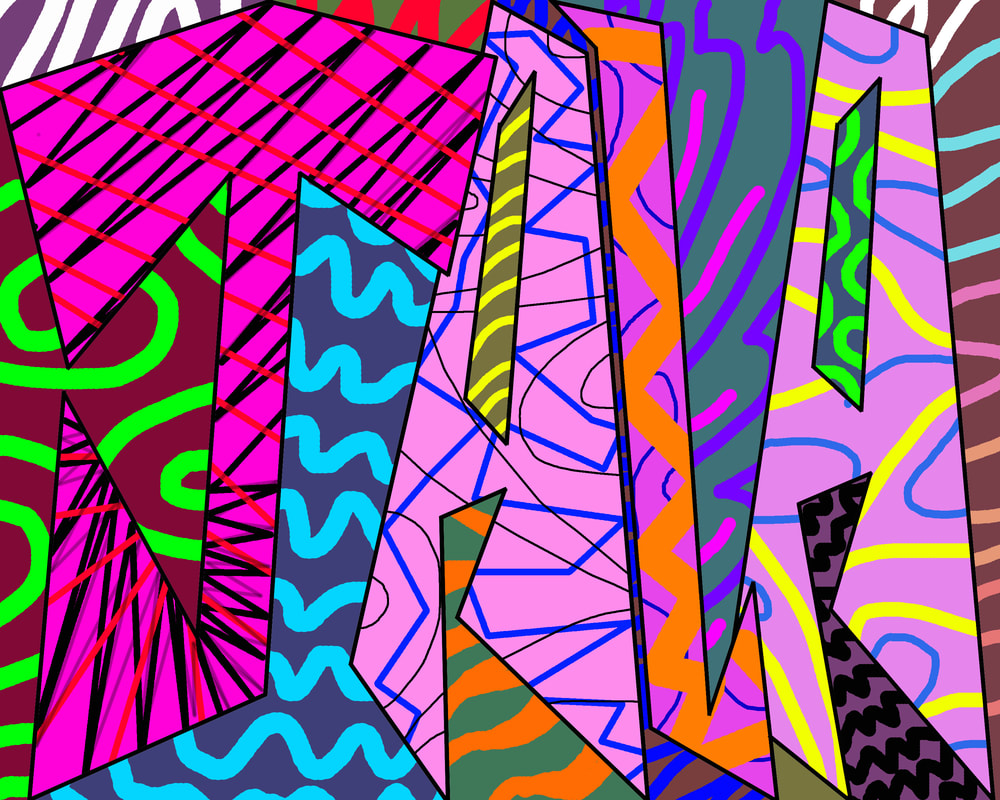
Name Design
Experiment with line by creating an abstract design based on your name.
LINE
Click HERE for more line designs!
|
RESOURCES |
Name Design Project Due:
|
|

|
|
Procedure
1. On your computer, go to "All Programs" and open Photoshop CC.
2. Click "edit" on the screen that pops up.
3. At the top of the screen, select File >> new
4.Open a new 10 inch x 8 inch file, resolution 300 ppi. (file >> new)
5. Select no fill for the line and adjust the PX of the stroke to 10 px and select black as your stroke color.
6. Using the line tool, write your name so that it is not recognizable. Each letter should stretch from the top of your page to the bottom to create sections between each letter.
7. Check your lines for gaps. Make sure all of your lines connect so that you can use the fill tool.
8. Merge your layers. Select Layer >> Merge Visible.
9. Use the magic wand to check for gaps, correct any gaps with the line tool, and merge your layers.
10. Use the magic wand tool and fill tool to select different sections of your image. Fill each selection with a color.
11. Using the brush tool, fill each section of your image with a different pattern. Consider the different types of line and different line varieties.
12. If you need to continue working on your project, save as a PSD file. Save often.
13. When you have completed the assignment, save your file as LNFl_Name.jpg
14. Place assignment in the specified Dropbox on Schoology.
Grading Rubric
- Composition - Did you use your space in an interesting way?
- Craftsmanship - Did you pay attention to detail and make your work as neat as possible?
- Creativity - Did you experiment with new or different ideas?
- Procedure - Did you meet all the project requirements? Did you save and submit your file in the correct format?
- Line - Did you demonstrate an understanding of the line tool and display a variety of line?
